Here are the small steps of installing Brick Veneer on your wall.
Step 1
Prepare Wall for Tile
Make sure the wall is smooth and clean. Dust and debris will make it more difficult for the glue to properly bond. Then, use a level and a straight piece of wood to create a temporary “ledger” across the bottom of the wall. The ledger is a guide that will allow you to keep the bricks straight and level as you tile. When you’re finished, the ledger will be removed.Step 2
Cut Bricks
Start by cutting several thin bricks in half using a tile “wet” saw or a diamond blade grinder. Doing this prior to installation will save time during the process so you’re not continuously stopping to cut more bricks.Step 3
Install Corner Bricks
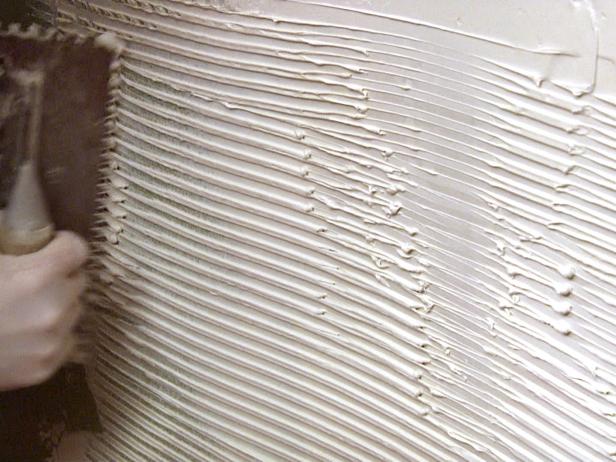
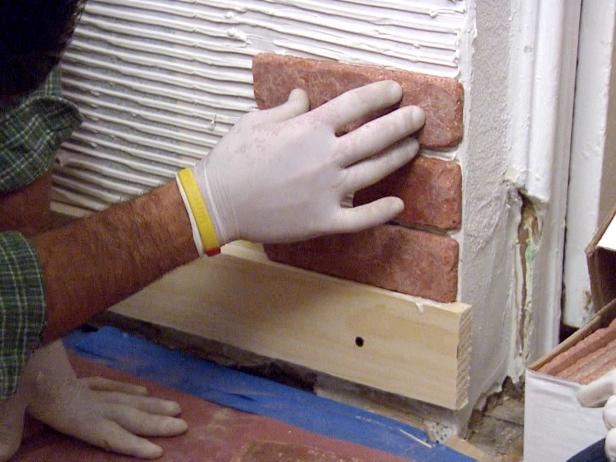
Start your installation at the bottom corner of the wall. Use a notched trowel to spread mastic over a small section of the wall (Image 1). Next, press a full brick to the outer edge of the lower corner of the wall. Continue upward with a half cut thin brick with the same application technique: full brick, half brick, full brick, half brick, etc. (Image 2). This creates the start of your “running bond” pattern, which is the most common layout of real brick masonry partitions.Step 4
Install Full Rows
Continue this technique about halfway up the wall to start. Then, go back down to the bottom of the wall and start running the full bricks to complete the first row, or “course.” Work your way up the wall, row by row.Step 5
Make Sure Rows are Level
Check that the courses are running straight by using a 4-foot level. You have about 20 minutes to adjust the veneer bricks before the adhesive begins to set.Step 6
Leave Space for Grout
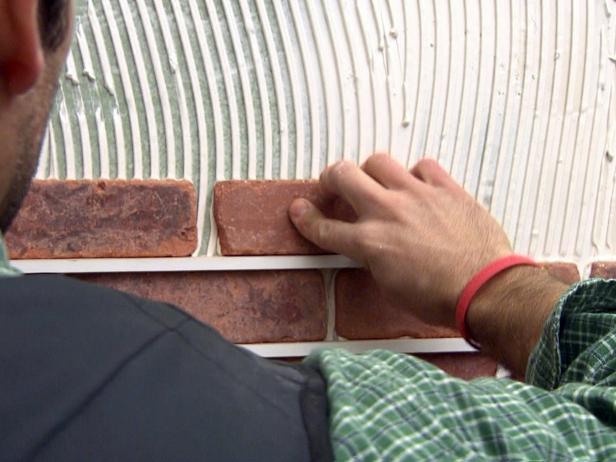
Create grout joints of 3/8” to 1/2” wide between bricks and between upper and lower rows, as well (Image 1). Measuring by eye is encouraged to give a more authentic look. Alternatively, you can rip down some scrap wood on a table saw into 3/8” strips to make grout spacers (Image 2).Step 7
Install Remaining Bricks
Once you’ve reached the halfway point, continue with the corner bricks the same way as Step 2. You may finish the remainder of the wall to the ceiling height. Continue the laying of full bricks to complete the remaining rows. Stand back from the wall every so often to “size up” the job and to check for even running courses.Step 8
Apply Grout
Allow brick to dry for at least 24 to 48 hours. Then grout in between joints using Portland cement mixture squeezed through a grout bag and apply to joints in small areas at a time.This way you can install brick veneer on your wall.


No comments:
Post a Comment